Wow, February 6th already! We’re getting close to Valentine’s Day, and we also are getting close to March, which means Spring! That gives me hope…it’s been very cold and snowy here lately, and I think I’m getting a bit of cabin fever. Yesterday was especially tough, the boys and I were all a little squirrely, so I decided it was time to look at the craft supplies and see what kind of project we could do.
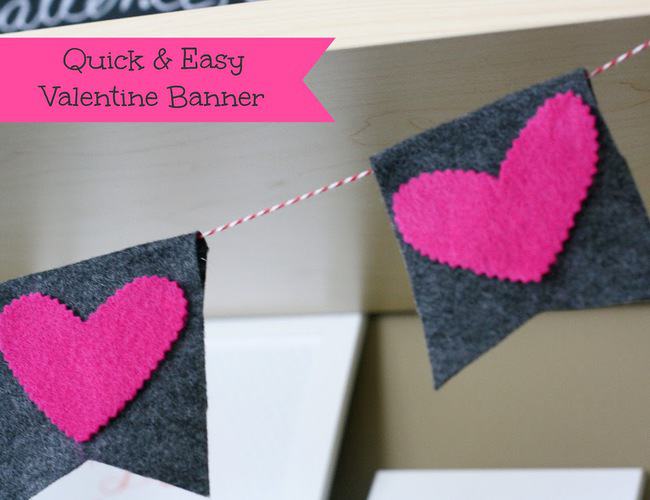
We hadn’t put any Valentine decorations out yet, so I thought a banner would be a quick and easy project.
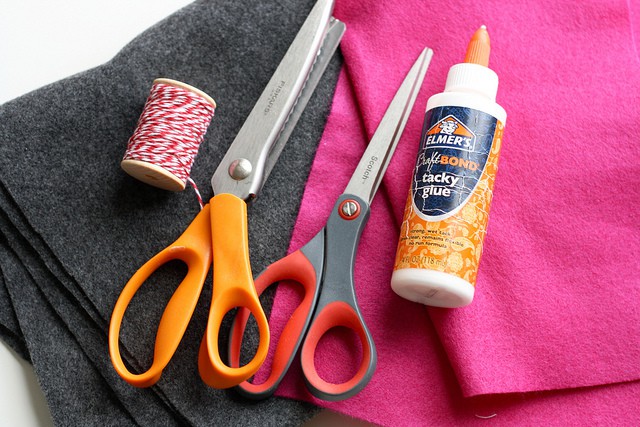
You will need:
:: two colors of felt
:: normal scissors
:: pinking shears
:: twine
:: craft glue
:: hot glue gun
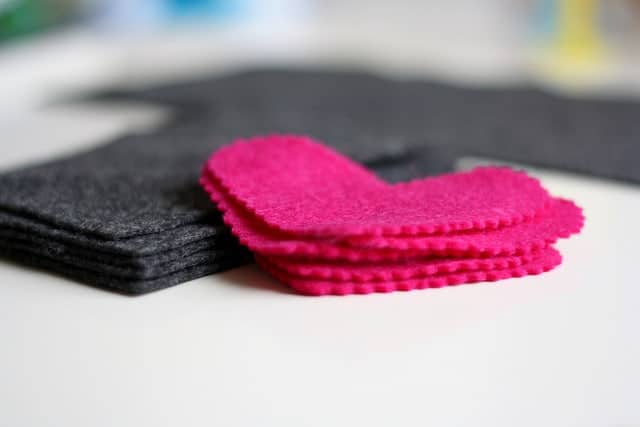
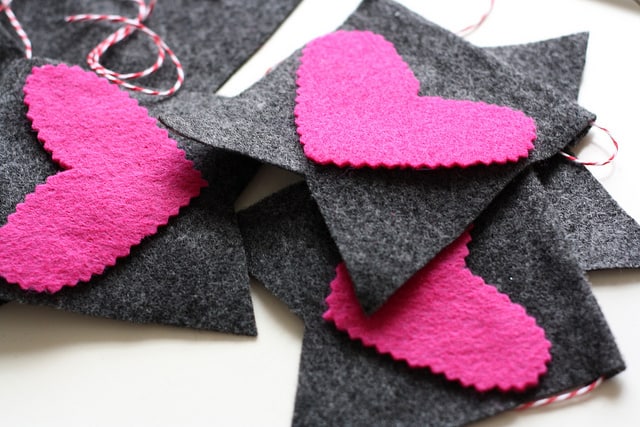
I wanted to have five little panels or flags on this banner, so I cut five rectangles out of charcoal felt, each about four inches wide and five inches tall. Then I used the pinking shears to cut out five hearts from the magenta felt. I don’t mind if my projects look handmade, so I eyeballed all these measurements. You could make a template for the hearts if you wanted to have them all exactly the same.
Then I folded each rectangle in half and made a diagonal cut from the fold to the outside corner at about a 30 degree angle. Once I did that for each one, I lined them up and laid the twine across the back, folded the top over, and hot glued it down.

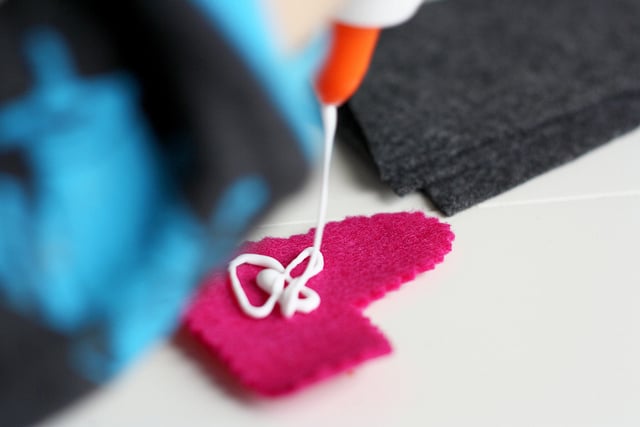
I used craft glue to secure the heart to the front of each flag.
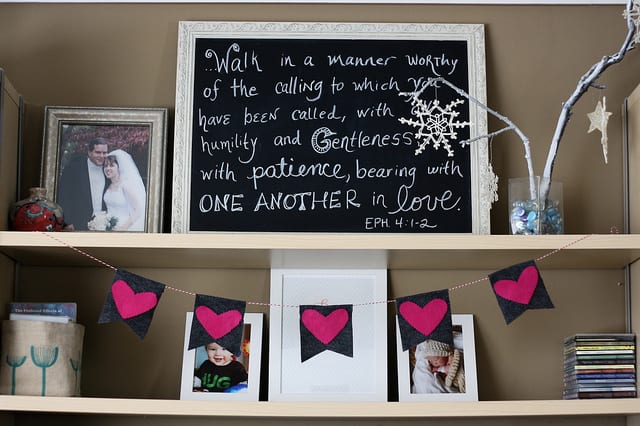
Ready to hang!
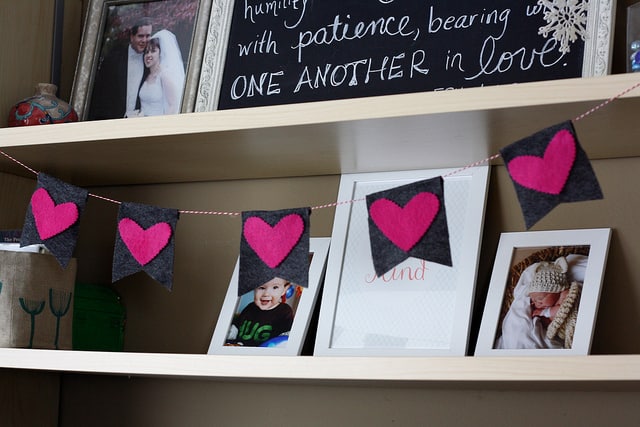
All done! This was an easy way to add a little bit of color to the living room. My five year old helped with the gluing, and if you have older children, they could probably do some of the cutting as well.
Linking up to some of these parties.

Emily Thompson
beautiful!! Thanks so much for linking this up to Nap-Time Creations Tasteful Tuesday. I’m featuring it today as party of a 25 fabulous valentine ideas post! I would be so excited if you would come over and grab a new featured button and put it on your post! :o) OH and I have a WEEK of giveaways going on for my blog birthday… stop by and check it out and enter!!! A new one will be posted every day.
Leigh Anne Wilkes
I love working in felt and this banner is just darling! Love the colors too.
I’d love for you to come over and share at Finding the Pretty & Delicious Linky Party which is open until Tuesday evening. http://www.yourhomebasedmom.com/finding-the-pretty-delicious-linky-party-4/
Jodi D.
Really cute heart banner. It’s such a great Valentine’ decoration.
Leanne
This is adorable! I found you through Flamingo Toes link up & I am a new follower!
Jenn AJennuineLife
This is so nice – I love the black background vs. the standard white. I’d love it if you stopped by to link up at Thrifty to Nifty Thursdays at A Jennuine Life. http://www.ajennuinelife.com/2013/02/thrifty-to-nifty-thursdays-6.html
DesignedByBH
So cute! I love your banner–great color choices! :)
A to Zebra Celebrations
Sooo darling! I hope you come by to link to my party every week- your blog is fabulous!
http://atozebracelebrations.com/2013/02/link-party-6.html
Meeling
Very cool Kelly! And I totally agree, isn’t handmade supposed to look handmade – that’s the whole point to me. It means that someone took time, effort and love and made something with their own hands. Beats out most store bought decorations I’ve seen!!