
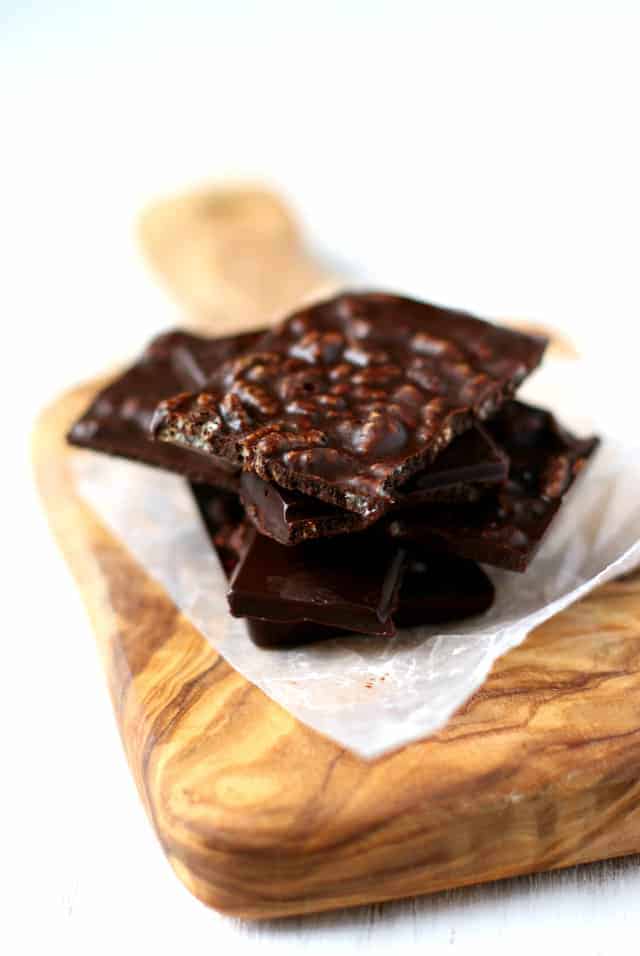
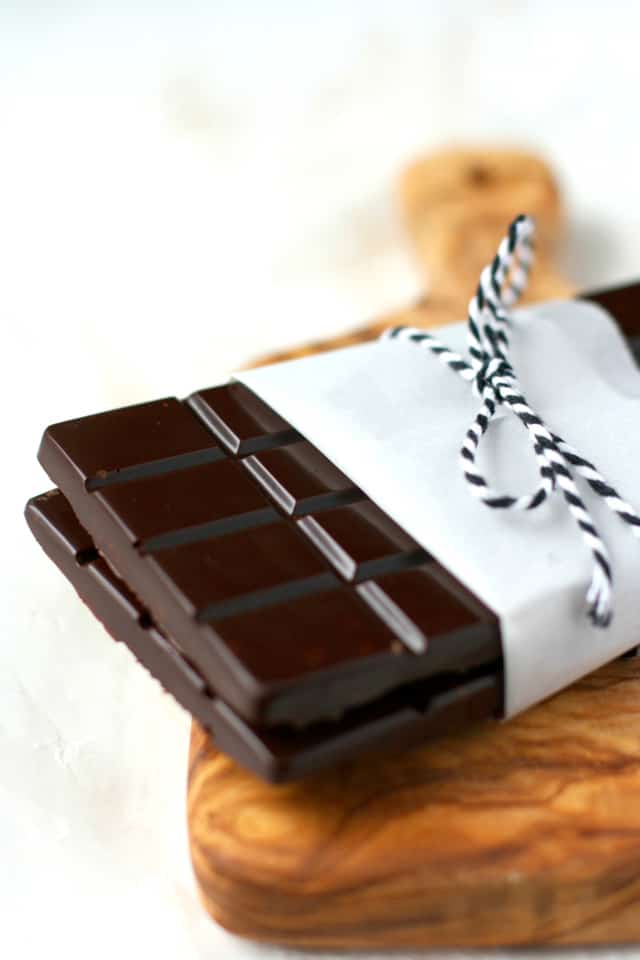
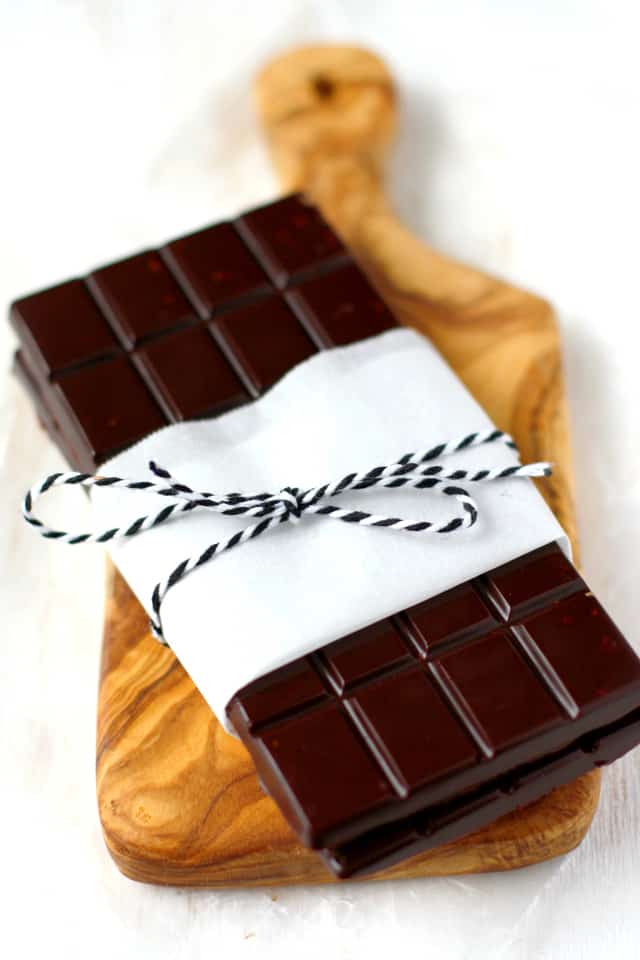
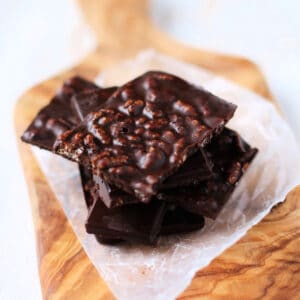
Homemade chocolate crunch bars are a delicious treat that’s allergy friendly. It’s easy to use a chocolate bar mold to make these at home. You will love how rich and smooth the homemade chocolate is – and it goes perfectly well with crispy rice cereal.
Candy. Kids love it, (and so do adults). If you grew up without food allergies, you probably thought nothing about it! You were able to enjoy packaged candy on Halloween or at Christmas time.
When you’re dealing with food allergies, though, candy is a different story. Mainstream candy bars like Snickers, Almond Joy, and Nestle Crunch are off limits.
What’s the solution? Thankfully, there are some great allergy friendly brands out there, like Enjoy Life and No Whey Chocolate. We love those brands.
But, you can also make your own homemade candy. It’s really easy to make different shapes with melted dairy free chocolate and a variety of candy molds.
If you want to make different candy bars, you can also do that! We love homemade sunbutter cups, caramel cups, and these easy chocolate crunch bars.
The base of this recipe is homemade chocolate made with cocoa powder, maple syrup, and coconut oil. It’s super smooth and delicious, and when you add a little crunch, it’s the perfect homemade candy bar.
Ingredient Notes
- Unsweetened Cocoa Powder – I use Hershey’s Unsweetened Cocoa powder, and it works well in this recipe.
- Coconut Oil – I used organic, unrefined coconut oil. We like the mild coconut flavor that it brings to the candy. If you prefer to have less coconut flavor, use refined coconut oil.
- Cereal – There are a lot of options for crisp rice cereal. Be sure to call and make sure that any cereal is safe for your family’s particular allergies. If you can’t have crispy rice cereal, you can also make these with toasted quinoa. Or you could break up a safe cereal that works for your diet, like rice Chex or corn flakes.
- Maple Syrup – I prefer to use maple syrup as a sweetener in this recipe. You could also use honey or agave syrup.
Instructions
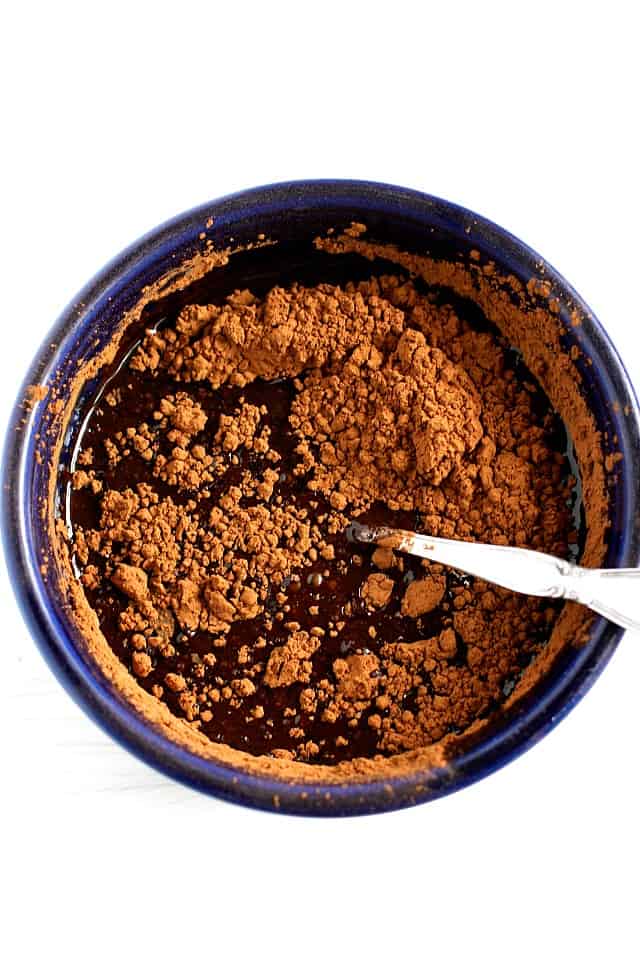
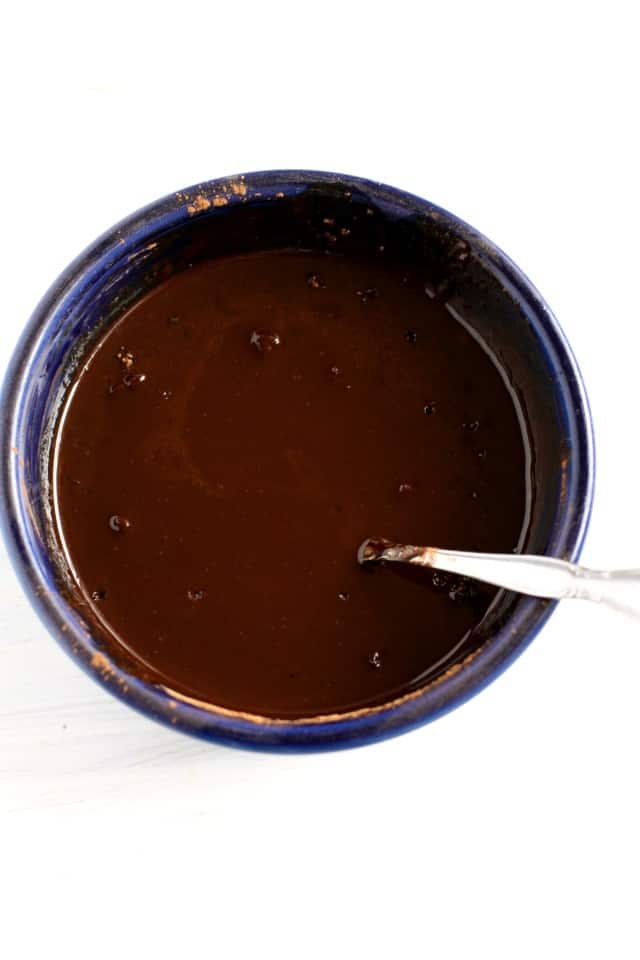
- Melt the coconut oil in the microwave. Allow it to cool just slightly before adding the maple syrup and cocoa powder.
- Stir until smooth.
- Pour the mixture into a candy mold.
- Refrigerate until the chocolate is firm.
Special Equipment
It’s best to use a silicone candy mold for this recipe. Silicone makes it easy to remove the chocolate once it’s solidified.
You can use any type of candy mold that works for you! Make fun shapes for the holidays, make little chocolate squares or big bars. This recipe can be adapted – double or triple it to make more.
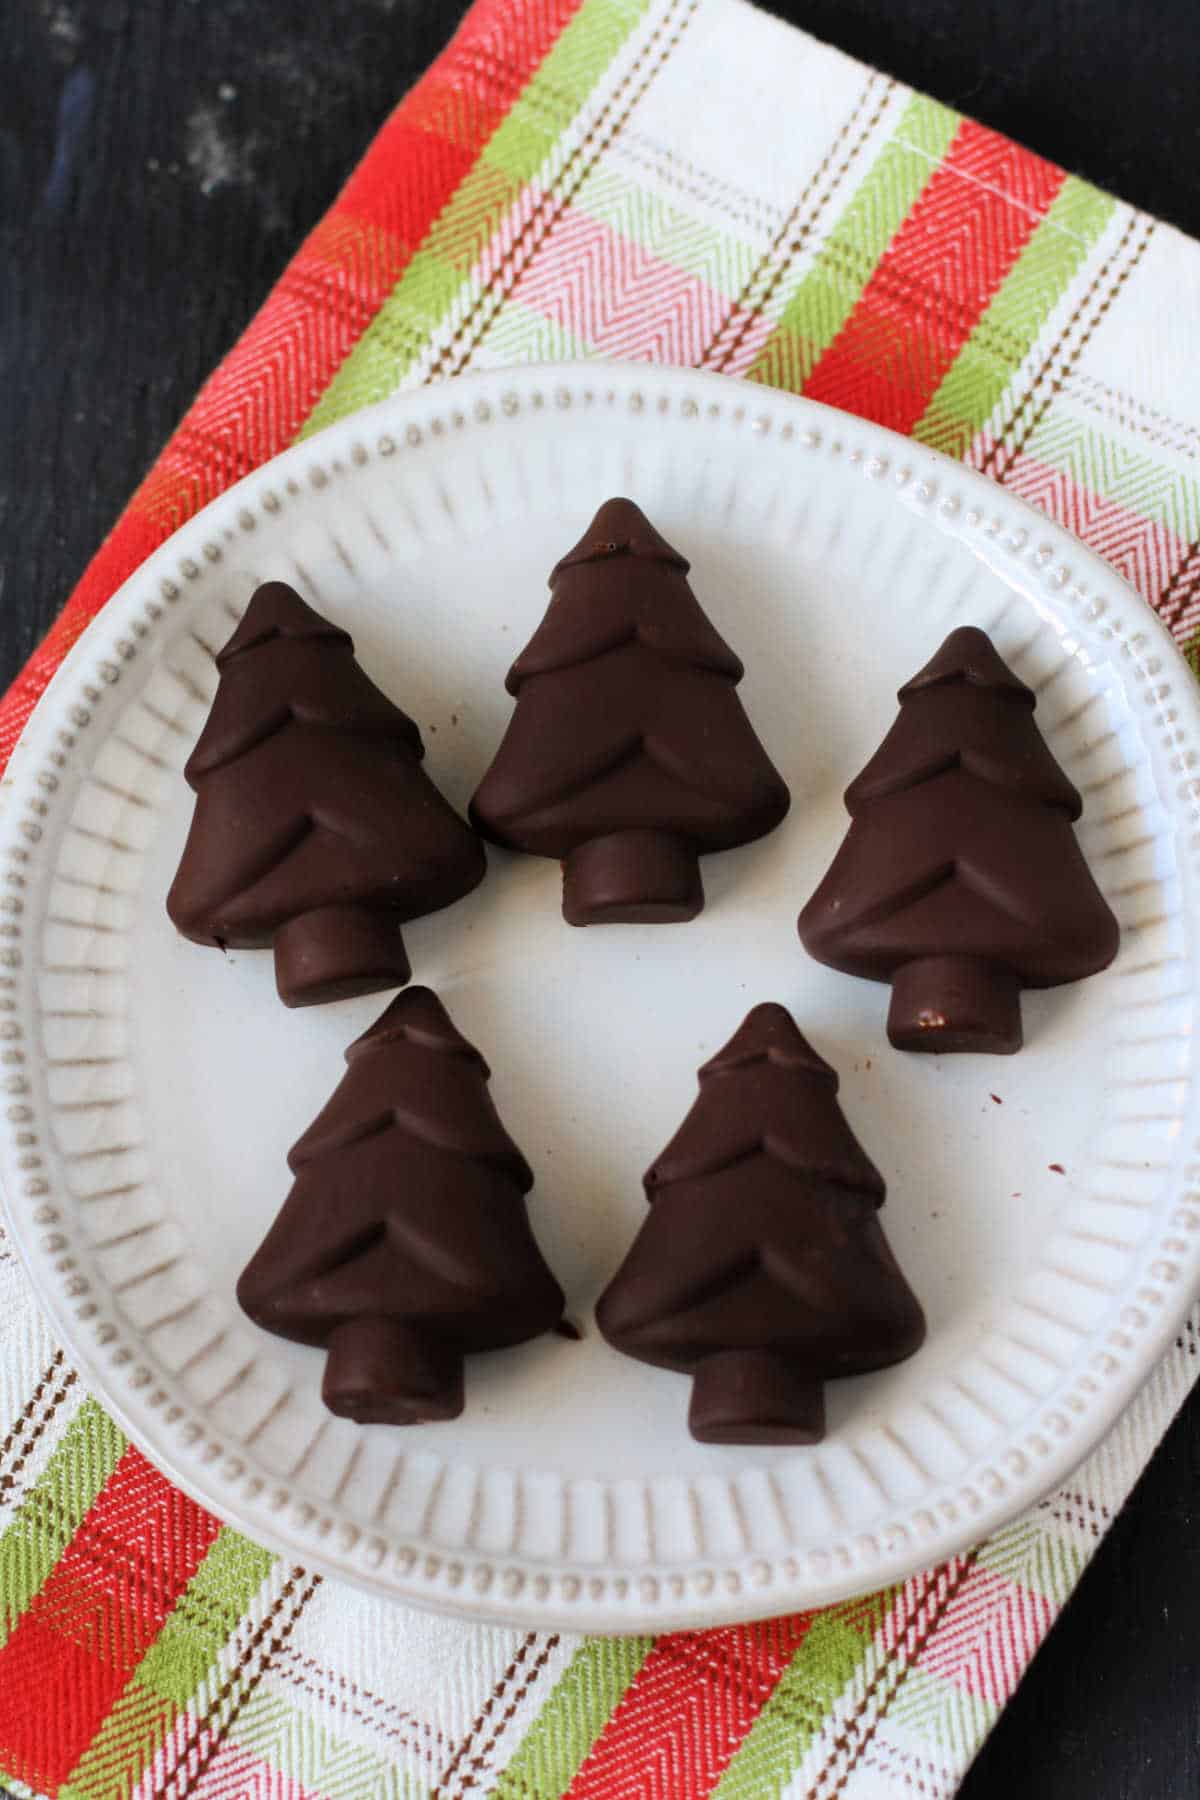
I love how easy it is to make these neat looking bars – the silicone really works so well to mold the chocolate, and it’s super easy to remove it once it has hardened. I think chocolate hearts would be pretty for Valentine’s Day, and little trees for Christmastime would be very festive.
FAQs
Since coconut oil turns solid when cool, it is important that you use coconut oil for this recipe. A different oil, like canola oil or avocado oil will not turn solid, and you can’t have runny chocolate bars! That won’t work.
If you don’t like the flavor of coconut, you will want to use a refined coconut oil for a neutral taste. I enjoy the flavor of coconut, so I use unrefined coconut oil.
Storage
This chocolate does get a little melty, so you definitely need to store it in the refrigerator. And you also need to make sure that little hands aren’t just holding on to pieces of it until it is a melty mess. :)
You can also store it in the freezer in a freezer safe container for up to 3 months.
More Homemade Candy Recipes
Disclosure: This post contains affiliate links.
Recipe
Homemade Chocolate Crunch Bars (Vegan and GF).
Ingredients
- ¼ cup organic coconut oil measure it after it has melted – if you start with a scant ¼ cup of solid coconut oil, that should be about right
- ¼ cup unsweetened cocoa powder
- 2 ¼ Tablespoons maple syrup
- ¼ cup crispy rice cereal
Instructions
- Combine the melted coconut oil, cocoa powder, and maple syrup. Stir well until smooth.
- Stir in the crispy rice cereal. If the mixture is still warm from the melted coconut oil, let it cool to room temperature before moving on to the next step.
- Spoon the mixture into chocolate bar molds. Smooth it out with the back of a spoon.
- Place in the refrigerator for about an hour or until firm.
- Pop the bars out of the molds and enjoy!
- Store leftovers in the refrigerator or freezer.
Notes
Nutrition
Lightly adapted from My Whole Food Life.

Ariel
This was AMAZING!!!! Thank you so much! I haven’t had a crunch bar in so many years. Last time I had to use an epipen. :( I’m allergic to gluten, dairy and eggs. Thank you so much!!!!
Kelly Roenicke
I’m so glad you enjoyed it!
Megan
These are way too delicious! I have been craving chocolate for months since I went on a vegan diet for my nursing daughter with food allergies, and this definitely hit the spot. I made these and ate them in less than 24 hours.
Kelly Roenicke
So happy you liked them! Thanks for letting me know!
Amanda
You said you made this version as dark chocolate. What makes this one dark chocolate as opposed to the original? I know Hershey’s makes Special Dark unsweetened Cocoa powder. Would that be better to try for dark chocolate results?
Kelly Roenicke
Milk chocolate has milk in it, which makes the chocolate flavor less intense. This recipes doesn’t have milk, just the cocoa powder and coconut oil, so it is a dark, rich chocolate taste.
Nancy
Where do you find the candy bar molds?
Kelly
I got this one on Amazon: http://www.amazon.com/Freshware-CB-607BR-Silicone-Break-Apart-Chocolate/dp/B00CBGPPTC/ref=sr_1_1?ie=UTF8&qid=1459561642&sr=8-1&keywords=candy+bar+mold
Bethany
Yum! These look great.
whiskandshout
So yum! Vegan homemade candy is basically what Halloween needs :)
Steph | The Grateful Grazer
This could be dangerous for me…but also super delicious so that’s okay! ;)
Kelly
It is dangerous! :) I agree.
Strength and Sunshine
Can I come trick or treating at your house? ;)
Kelly
Sure! :)
Gayle @ Pumpkin 'N Spice
Oh these bars sound delicious, Kelly! I love the crunchiness in here!
Kelly
Thanks, Gayle!